An Artist's Style - Part II

Last week I talked about an artist’s style and my complete lack of one. So in continuation of that I decided that I would take a stab at trying to help you find yours. I know, that makes no sense, since I have pretty much no idea what mine is! These are just the mental steps that I followed when I was trying to develop/find one. Hopefully, they work better for you than me!I think the following steps could be applied to more than fine art so try and let me know!​

I’m warning you now, this might seem really obvious but I know a lot of artists who have never really looked at finished work! And it might tell you some interesting things even if you don’t find a pattern!​
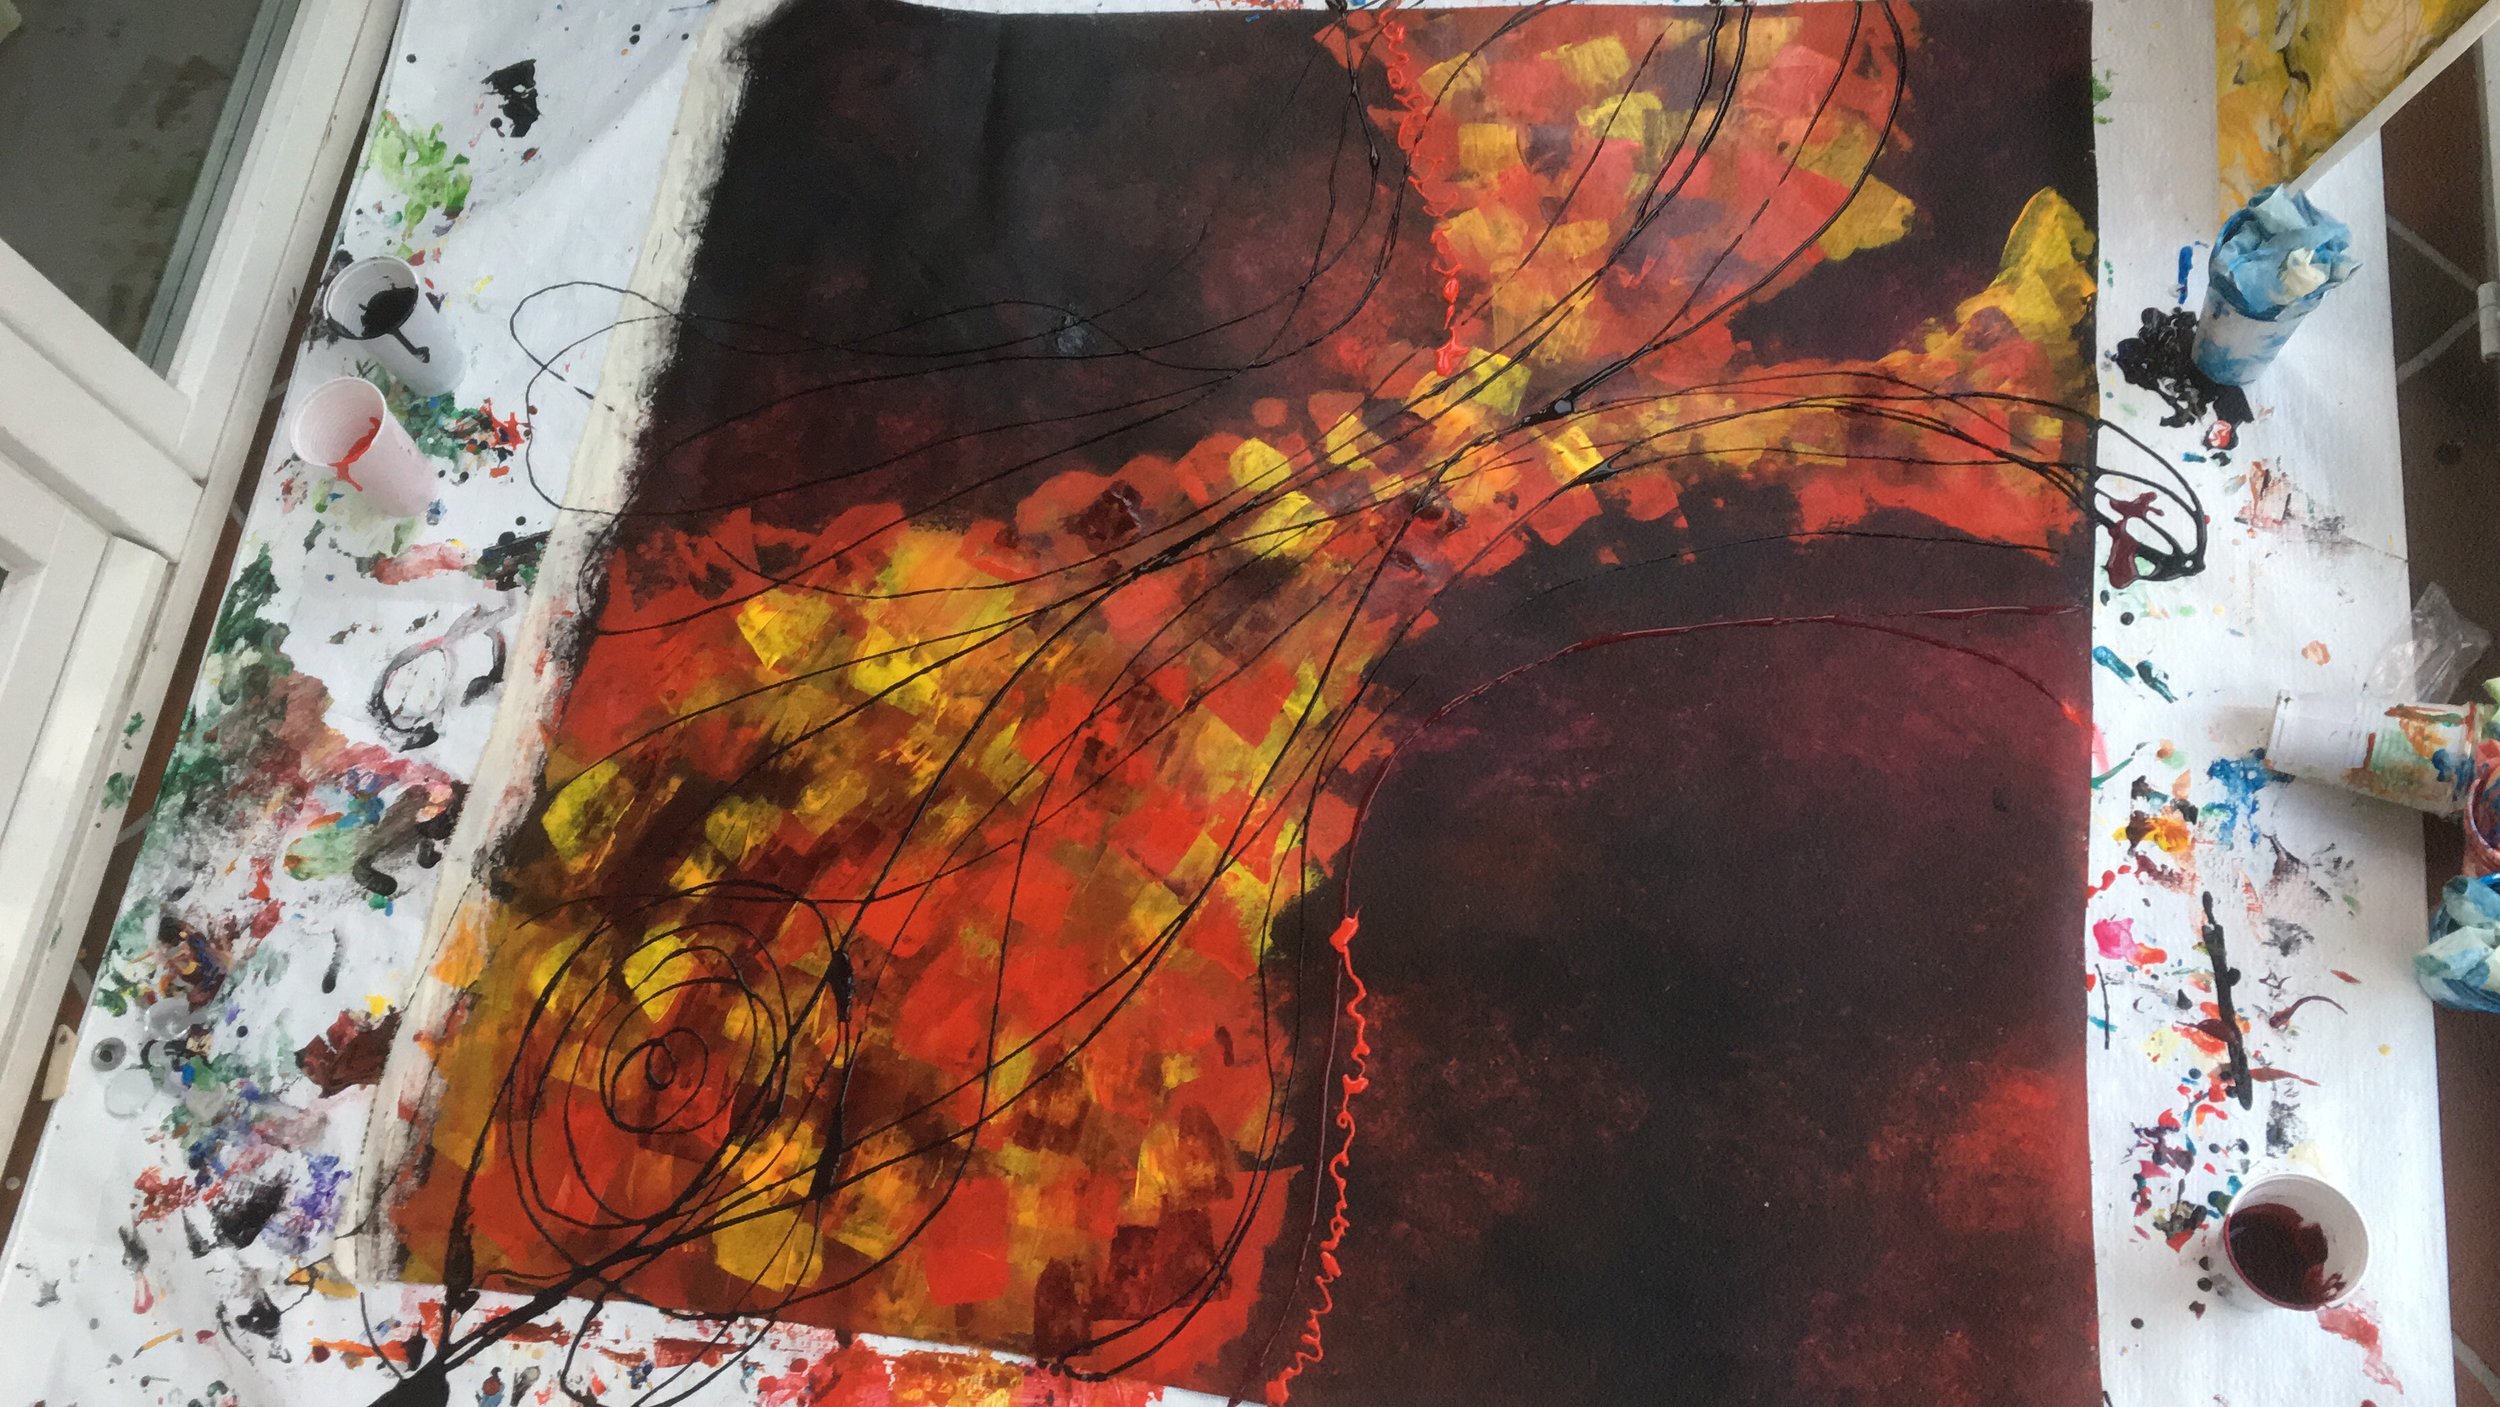
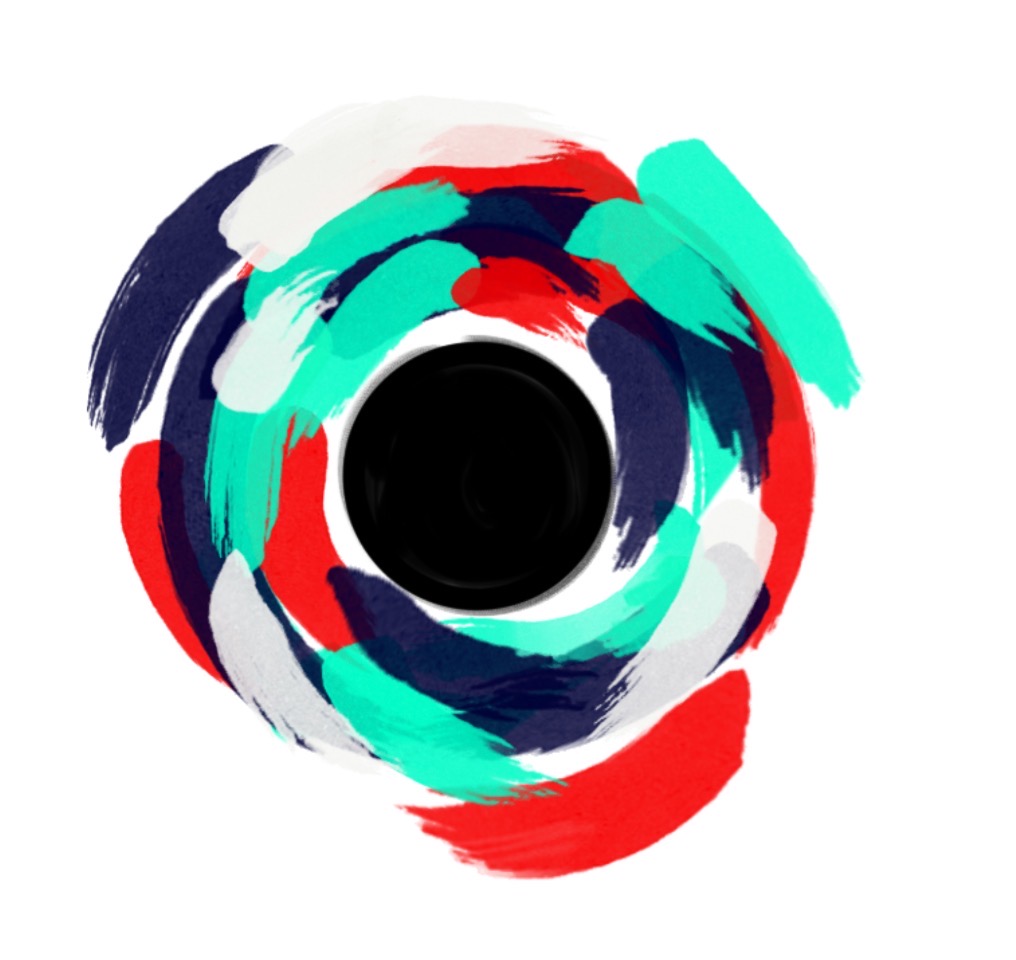
My go to pieces! 

My go to pieces! 

Gathering your most important work ​

Right, here, ‘important’ is a pretty relative term. I just mean the work that speaks to you and others the most. The most ‘successful’  pieces (in your eyes) ​in your repertoire. Basically when someone asks to see some of your work, which images do you show them first! Above are the three pieces that I always go to, they’re some of my best work in my mind. 

This work would encapsulate you best​, and the more background sketches, inspiration images and little experiment pieces you add with the finished one, the better! They say even more about you, your style and your process than just the piece. Put them together in an digital album; just gathering them up so you can look at them together.  

​Some work that I would discount are very specific commissions (you and the client worked together, its not pure you), any excercises that you did for a class/workshop (that’s your teacher’s style diluting yours) or any work where you were trying to figure out a new medium/tool. 

Look at all of the work together ​

You’ve got a summation of your work laid out in front of you. What catches your eye? What’s the most prominent pattern? It should be something to make people go: “Oh yeah, that’s ______’s work!”. Maybe get someone who doesn’t know your work too well to have a look as well and see what stands out to them. It may be something you missed!​

If you’re really struggling put your art analysis skills (come on, we all have them cause we’re constantly looking at art) to the test and try to ​find patterns in the following: technique, color, composition, and specific elements like flowers, skulls, whatever!  

​Still don’t find a really big obvious pattern? Try the next step 

Looking at emotion as a theme  

Looking at emotion as a theme  

Find the reason/inspiration between the pieces ​

Hey, an artist’s style doesn’t actually have to be that obvious! Maybe your inspirations tie them together! This was the final thing that led me to find a style (well...half a style). 

Remember the thing that drove you to create it. Was it an emotion, an experience, or did you just love the look of that flower? ​You probably kept coming back to a theme. I know, I say that with unwarranted confidence, but seriously: every ​artist has an inspiration that they keep coming back to. You might have to dig a little ( why exactly was that flower so great?). The inspiration doesn’t necessarily have to apply to every single piece, sometimes you’re just painting for the sake of putting paint on a canvas. It should  tie most of them together though. 

If you find a distinct pattern, that’s your style! Congrats! Celebrate by making a new piece in your (now conscious) style! If this didn’t work for you, let me know below! If it worked amazingly, I’d love to hear that too! 

Good luck! ​

Shivani ​

An Artist's Style - Part I

Alright, so this is an issue (or maybe a non-issue) that’s always bothered me.... I don’t have a style! You know what I mean; how artists have a specific technique, colours or style that they work in. Well I simply don’t. I think the only thing that ties it all together is the underlying theme of communication I talked about last week. I like to call myself an experimenting artist because I ‘experiment’ and jump from technique to technique. Sometimes I use structure paste; sometimes fluid paint, sometime just good old fashioned paint! I don’t think I any underlying technique or colours that I can consider my own either! 

The reason this bothers me is that most artists consider a style to be a very important to a personal brand. A brand is not simply to sell your work but it also serves to make you and your pieces recognisable. 

D4510ACC-A59D-4364-8197-1B0DD21FF159.JPG

I definitely go through periods with a style or technique but I’ve never been able to stick to one. To be honest, I get a little bored. That, combined with the fact that I love to work with/combine other artists styles. 

5402D512-700E-4D43-BEAB-450725C8ED4A.JPG

So I began to look at my work once again; trying to find a more visual connection. And then I realised, I don’t really need one! I know, that sounds a little convinient because I can’t actually find one. But in my opinion, the visceral connection that viewers have to my piece is enough to connect my work. I want people to not only appreciate it visually but really connect with it. If you have a connection with a piece, you’re drawn to it, you will find meaning of your own in it. Each has a memory or a meaning for me, but I want my viewers to form their own! And this may be some wishful thinking but I’d like to think that people do! 

IMG_0067.JPG

For the record, I did find a few visual connections but they’re probably not strong enough to form a style. I try to use high contrasts of colours and a combination of flowing and rectangular/square shapes. Again, I don’t think this is perfectly apparent in all of them. 

FullSizeRender.jpg

I’d love to know what you think! Do I have a style? If not, should I develop one? Comment below or let me know through the contact page/social media!!  

Shivani  

Managing my Blog

I haven't been blogging for long but I thought I'd show you guys how I organise it! I definitely recommend blogging, it a great way to bring traffic to your website and let people into the inner workings of your business! 

So here goes; its worked for me so far: 

1. As soon as I have an idea or I've read an article about blogging, I add them to my list! It's really great when I have absolutely no ideas for the week's post. I'm not a great writer so this is really helpful

FullSizeRender.jpg

2. I then create the post, add in the basic details like a title, category and tags. If I already have an idea of where the post is going, Ill make some notes and add in the pictures I want to include. It helps set the structure of it so I can continue writing.  

IMG_0212.PNG

3. Using an iPad app called Over, I create a 'main image' which is what will be posted on social media with a link as well. I try to include the title so it doesn't neccesarily need a caption. 

IMG_0210.PNG

4. And finally, I put in all the text. Again, I'm not a great writer so I really try to make it flow and make it helpful. 

5. Squarespace allows people to place posts under draft, review or schedule it. So after the post is complete, it goes in for a review. This just means that I'll check back in a few days with a fresh perspectives to look for any typos or structure mistakes.  

6. The post is then scheduled for the a week. It's usually a few weeks in advance because I like writing multiple posts in advance so I don't have to worry about it. It also allows me to make changes in case I change my mind later!


Is there anything different you do? Let me know! 

Shivani  

Palettes

I think I've tried them all at some point. None of them have stuck.  Ive never gone back to using any of these except the last one (which I'm not sure is an actual palette). Now this post may sound a little rant-like but bear with me! 

1. Glass palettes 

Artist's love these and I really don't get it! They are easy to clean and you can change the backing to make it perfectly 'clean'. But since I work with large formats (usually) and on the floor, I need it to be more portable and convenient than a glass palette can be! They are too heavy and unwieldy for me to keep moving around or even rest of my painting. 

2. Wax Paper or Tear Away Palettes

You know, they come in a pack and you basically rip off the pallete and throw it away. Ok, I used these for a while cause I had so many, but once again they didn't stick. They work well for just paint but when I mix in mediums and thinners, they tend to run over the edge or merge. Which leads to disaster as I tend to put my canvas on the dry section of my painting!

3. Wooden and Plastic Palletes  

Every artist started with one of those plastic palletes! The ones with the little wells and thumb hole. And of course, the more traditional wooden ones. I really love these for one reason: they keep a piece of each painting. But eventually this turns into a con! I've had palletes that became so caked in paint that they were entirely unusable. And I'd rather not keep spending money on palletes  

image.jpg

4. But finally! I found the right one! It's cardboard. Literally cut up pieces of packaging. I know it sounds ridiculous but not only is it cheap it works so well. You can cut out the size you want, shape it to hold more fluid mediums and in the end if you love the colors you can keep it! (That's what I did with the one below) And best of all, its cheap and you're recycling your trash.   

image.jpg

(5) Ok this one, I added as an afterthought! There comes a time when you're too lazy to grab another bit of card or maybe you're in the moment and don't want to pause to cut up boxes. I started just using my tarp for simple techniques. Like below, it works really well for pallet knives and those plastic wipers (sorry, I don't know what they're called!)  

4C43A975-BAB0-436F-B34F-02363285C140.JPG

Sorry about the rant, but hope it helped anyway! If you guys know any other types of pallets, let me know! 

Shivani  

Working with Honey Gel

After I took a break from my fluid painting, I started working with this acrylic medium called Honey Gel. It has the consistency of Honey (like the name suggests) but maybe a little thicker. So here goes: I'll start with my pieces and then share my recipe!


I found the medium by accident (bought it on a whim) but quickly learned how to use it. Fluid painting taught me a lot that was helpful for it. The long string-like accents on the corners or accenting the composition on my fluid paintings require quick fluid movements (no pun intended) that also move off the canvas. This allows the lines to not have any kinks or strange curves at the end. It means that while going back and forth, a lot of the paint falls outside the canvas. I think the speed of the movement requires the most practice so I recommend painting a piece of cardboard first. You have to go slow enough to allow the paint to flow with no drips but fast enough that the lines are long and smooth with no kinks. I did notice that the speed differed with pouring medium and honey gel and that landed me with some wierd lines at first!

B1AA4BF5-6C18-4513-B87C-5A53EC86BE03.JPG

So the piece below was my first piece with pure honey gel. The lines weren't as delicate as they tend to be with pouring medium so after this I started to experiment with the recipe. But all in all, for a first attempt, I was quite happy with it. 

FullSizeRender.jpg

My next piece was a little more thought out composition-wise. This time I added a little pouring medium to the gel and it was much easier to work with. It still created some wierd puddles (top left corner) so I continued to experiment. This piece glows in the dark too! I added the pigment to the gel and it worked perfectly! 

FullSizeRender.jpg

My first large piece with the honey gel! This was almost a workout to very out-of-shape person (i.e. Me). To keep the movement smooth, I had to stretch and bend across the canvas but I still managed to remove the kinks. I did create a few puddles though. This was because the gel tends to harden if its not well mixed; the lumps then fall out and create puddles. But if you act quickly and scrape towards the line then you can minimize them (if not remove them entirely). In the end, to add an interesting detail I added a very drippy line in the bottom middle section. Here, I didn't bother with smooth movements and just embraced the natural texture of the gel. 

5402D512-700E-4D43-BEAB-450725C8ED4A.JPG

The recipe I ended with finally was a gel, pouring medium, and a mixture of water, pouring medium and flow aid (2:1:1). To create the last mixture, I added a little flow aid and water to an empty pouring medium bottle which cleaned out the rest of the pouring medium and created the perfect combination. Just make sure to mix all the ingredients really well, it takes a few minutes. All three mediums are Liquitex.  

I had so much fun working with this medium to be honest! Check out my instagram for more pictures, and videos! And let me know how it works out for you!
  

Shivani